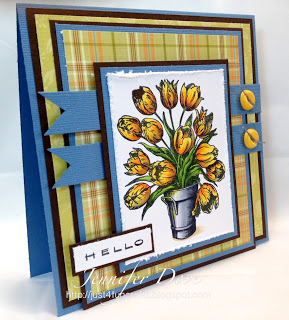
I hope you have been practicing up on your coloring skills. For this tutorial, we are going to talk about coloring metal like objects. You can use any of your alcohol markers to accomplish this.
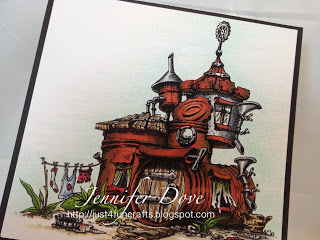
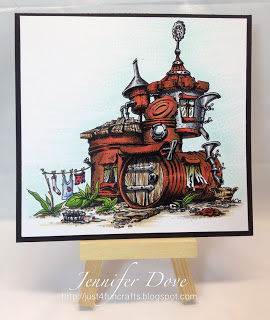
Metal object are really fun to color. As you know, Copics don’t come in metal colors. The look is achieved by using regular colors. When you color metal images there are a few important things to remember: shapes and the reflections in them, contrast from white to almost black, and leaving distinct sharp clean edges in the reflections. Sharp edges and white highlights nearest the light source will make the object appear shiny. You need to be able to “see” the shape of the reflections and highlights and be able to interpret them using your markers. It really helps to be able to work off a photograph or true to life object. Round objects will have distorted highlights, where flat objects will have straighter highlights. Since most metal objects appear smooth, we will want a smooth blend. Even old metal objects are smooth. First thing to do is figure out where your light source is coming from because this will determine where the highlight will be. Keep in mind as you’re coloring that it is much easier to make light colors darker than it is to try to make your darker colors lighter. When coloring a metal object, the principles for coloring is the same no matter what type of metal you are trying to portray. If your image has straight edges like a bucket, you will want the lines to follow the shape. If it were a curvy vase, your lines would mimic the curve.
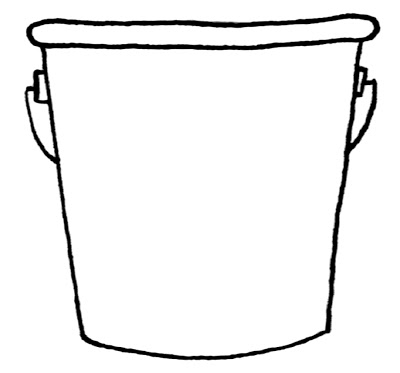
Let’s get started with this pail as an example.
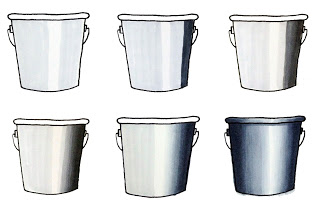
You can see by the step-by-step instruction that I color in long wide streaks vertically within the object, leaving straight edges.
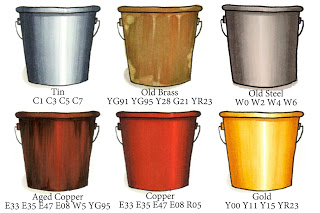
In these photos you will see, from left to right, the progression using C1, C3 C5 C7. Using your lightest color, color everything but the place you want the highlight. This is more for reference. You will want to work one side of the object at a time so you can work the ink while it is still wet. Next, you will take your darkest marker and color vertically following along the edge of the object. Using your medium-dark marker, you will color vertically overlapping the inside edge of your darkest color and blending. Bring this color out about the same distance as you did your darkest marker. Take you medium marker and follow the same steps as the last. You will finish that side up by slightly overlapping your lightest color, and if you have harsh lines, you can smooth it out with your blending pen.
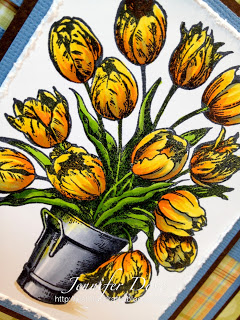
Remember your lighter markers have a tendency to push back your darker colors so you might have to repeat the steps to bring the dark colors back. Work it while wet and it will blend more quickly. You will repeat all the steps on the other side of the object. Depending on the type of metal you are coloring, you might have to repeat the steps to get the desired look. For old brass and aged copper-like objects, the shine is usually not as vivid and you might have a slight patina look to it. Note: Colors were altered when taking the photo.

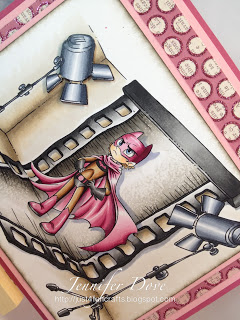
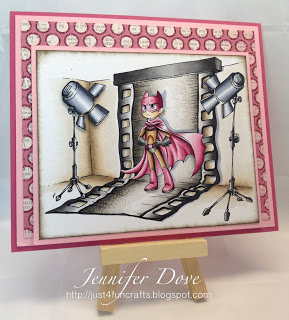

Waw this is such beautiful coloring and great tutorial. thank you. hugs! Mojca
Love your colouring and thanks for the great tutorial♥.
I love your blog so i became a follower♥.
Hugs, Marita
I LOVE LOVE your bat girl !! is this something you drew?? and the "coloring" is amazing!!
Bat boy (dressed as a girl…cause his mamma dressed him) is by simplybstamps.net
Fantastic tutorial on the metals – thank you!
Jennifer, I have been fretting all day because of some gold jewelry that I want to color with my copics. Excited to find the info right here on your blog. Loved your online class at Annie's and awaiting more !! Your coloring is awesome. Today I also found Stampendous stamp that you colored as a peach. Trust me it was a "peach" of a price w/my coupon!