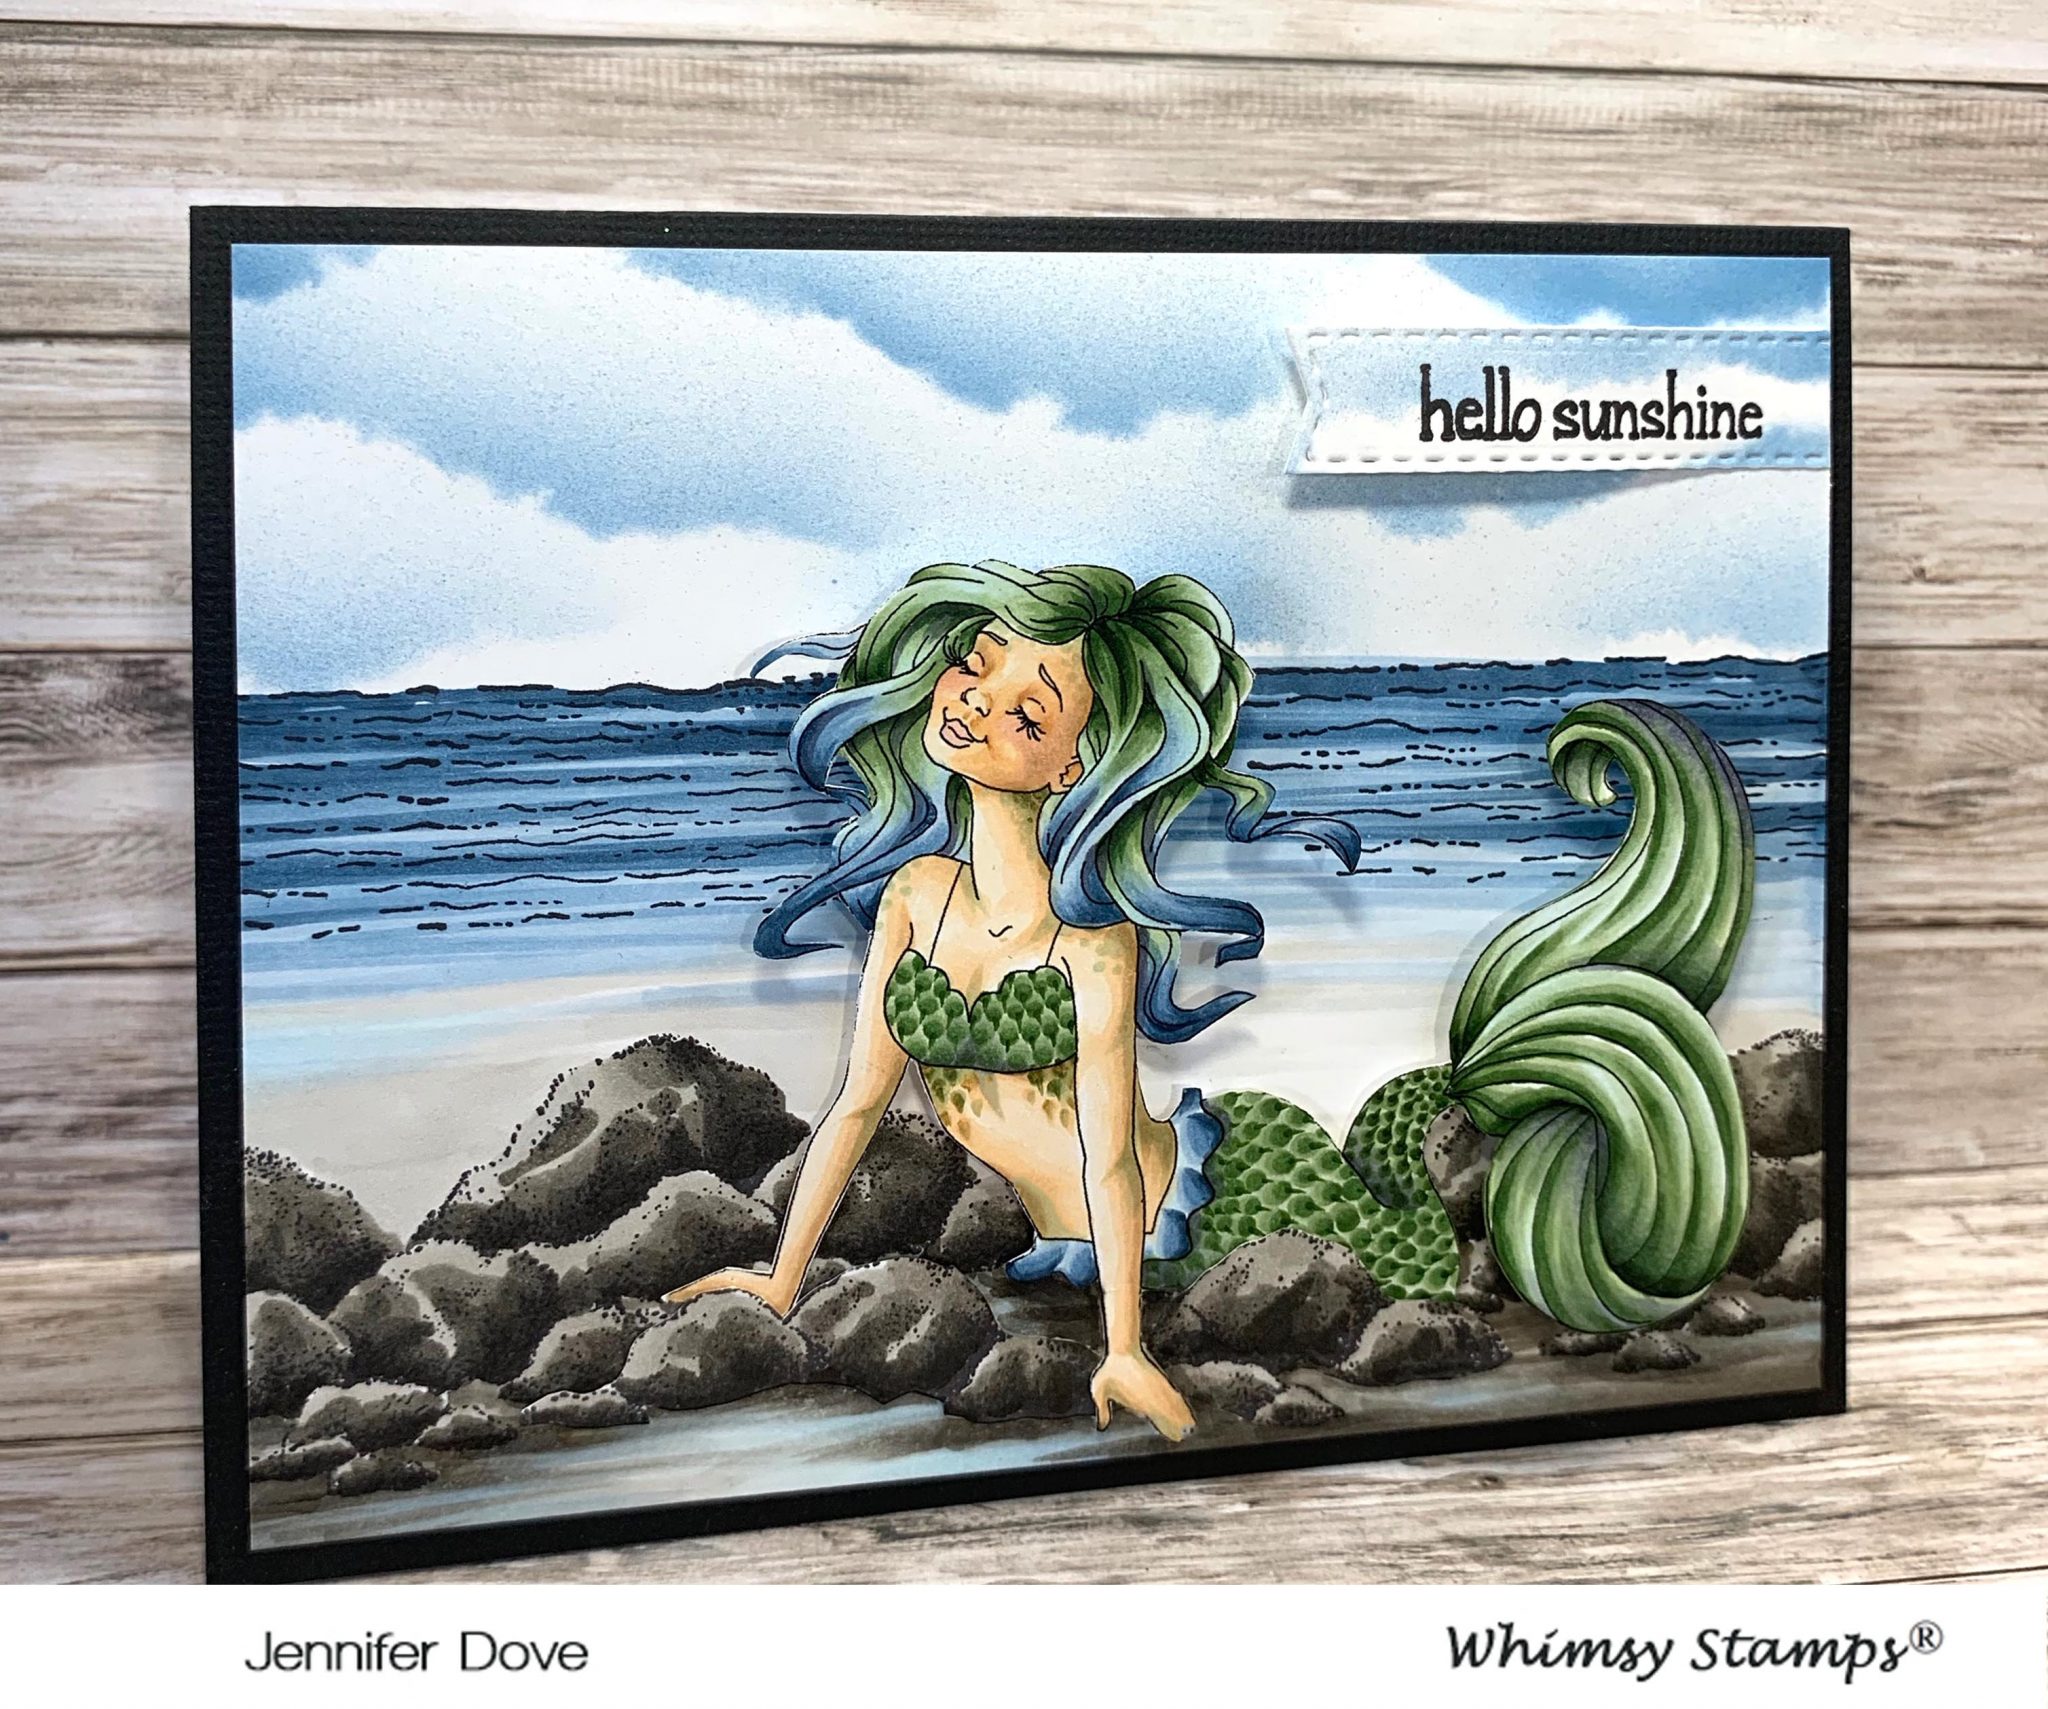
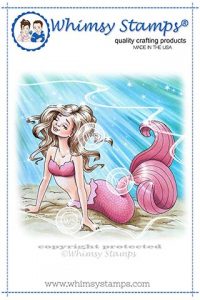
Keep your face to the sunshine and you will never see the shadows. I have always loved this quote and think this is what the sweet little NEW Mermaid Alexis to doing. Don’t you love her expression as she basks in the sun.
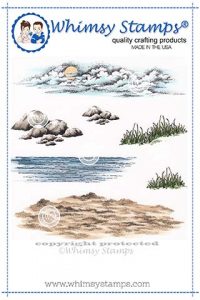
Creating this background with the NEW Create a Scene – Beach from Whimsy Stamps was such a breeze because all the elements are right there and all you need is a tiny bit of imagination (or the ability to copy mine).
Below you will find a few step out photos of the process. How cool is it when you find fun ways to step-up a card with creative tools at your fingertips.
Have you seen the Create a Scene – Beach set yet? This set was so hot it sold out in days…be sure and click on the link and ask to get notified when the stamp is back in stock (within a few days). This set has rocks, clouds, water, sand and grass. The cool part is the stamps can be used in so many different ways. I think this is a must for those learning to create your own scenes. If you stamp the images with a no-line stamp pad the lines will disappear and it will look like you created it using your creative imagination without a stamp. Here I will show you a few steps I took in creating this card.
Creating the Card
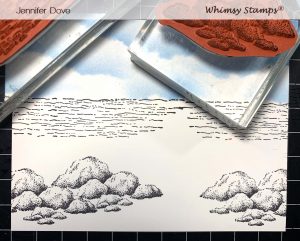
Using a Copic friendly cardstock I stamped the water (could also be used for sand) on the left and the right side of the paper creating a horizon. The rocks (also can be used as clouds) were stamped towards the bottom of the page. I masked off a couple rocks and stamped over the mask to give a tad more difference between the rock mounds.
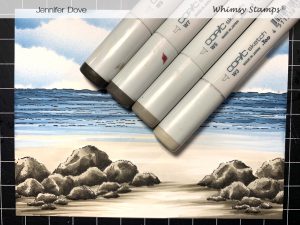
The sky was airbrushed using B95. Water usually is a reflection of the sky, so I continued the blue tone into the ocean. After starting at the horizon with B97 I moved forward toward the front with the B95 and finished with the B91 for the water. By adding BG00 to the waters edge it softened the transition into the sand.
W0 W1 W3 were used for the farthest sand colors and as the sand got nearer to the front edge of the card I added W5 with a tiny bit of BG00 which can be seen in the final card.
I chose to using the darker shades of the W markers, W3 W5 W7 W9. This was rough coloring as I wanted the rocks to appear ragged and not smooth
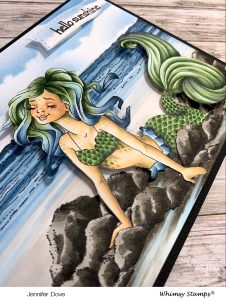
After coloring sweet Alexis I cut her out, and popped her up amongst the rocks. I am super happy with the results from this card and hope you are inspired to give it a try. I love that these stamps aren’t just for “beachy” themes, but can be used on so many different card designs. Come on…get your brave on, and give it a go! You are only limited by your imagination!
Mermaid Alexis rubber stamp
Create a Scene – Beach
Copic Markers:
W0 W1 W3 W5 W7 W9
E50 E51 E53 E55
B91 B95 B97
YG61 YG63 YG67
BG00
BV20 BV23 BV25


Love the scene the that you have created, I can’t wait to give it a try.
Awe thank you! I can’t wait to see what you do with it!
Wow ! Love this card – mermaids are my favorite 🙂
They are only limited with our imagination aren’t they. Thanks for the sweet comment
Love this mermaid!! Great job Jenn
Thank Jen2 Luv you
Great card and I really like your step by step process! Wonderful hues and I am so glad I found you!
I love your mermaid card! Can you pleases tell me what you mean by a “no line stamp pad?” Would that be something like versamark?
No-Line is where you take a stamp pad that is light in color and stamp the image. When you color the image the lines almost disappear. I have a link in the post (I think) for the Gina K Amalgam ink pad that is in the no-line series. The outcome od coloring no-line is superb and give a completely different look to an image.
I love your mermaid card, such a beautiful creation. Thank you for sharing
Thank you for taking the time to leave a sweet comment ❤️
I love how you created the “scales” on the mermaid. Beautiful! Miss you! Come home soon.