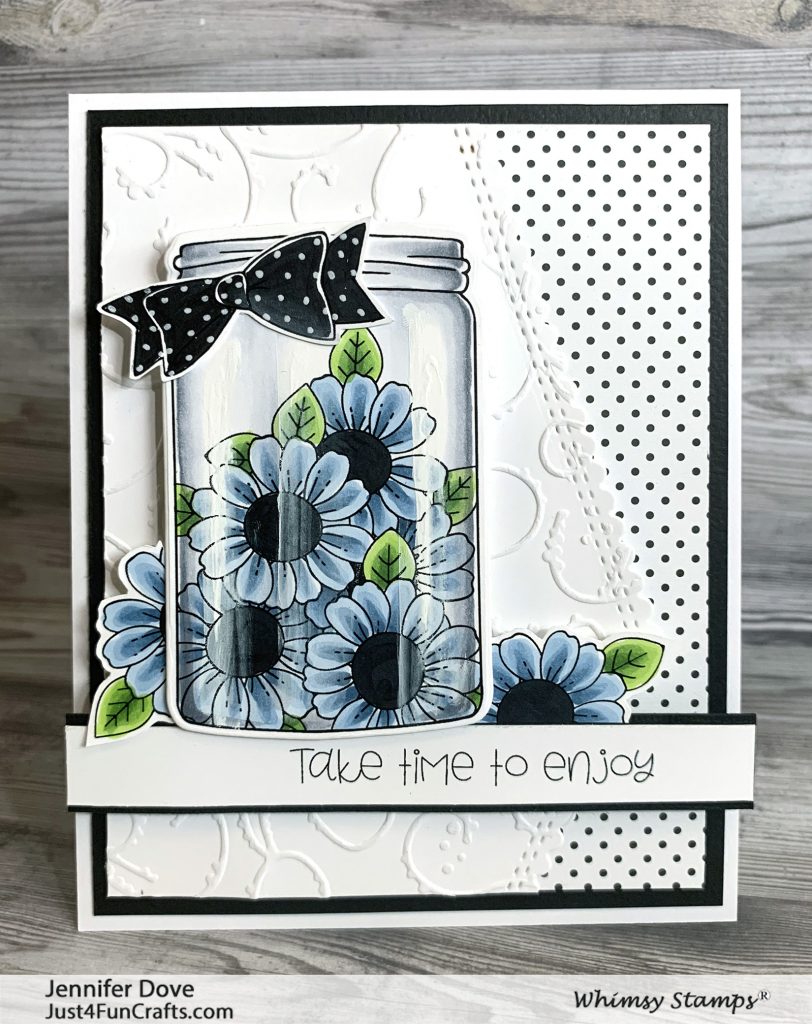
Okay, here is a fact for you. This jar stamp is my most favorite stamp EVER, in the whole world! And the fact that you can buy a complimenting die, takes it to the next level of “favorite ever”. You can add anything into this jar. For this card I decided to add flowers (because I felt like it, and its my stamp to play with…so there). Read below for details.
Creating the Card:
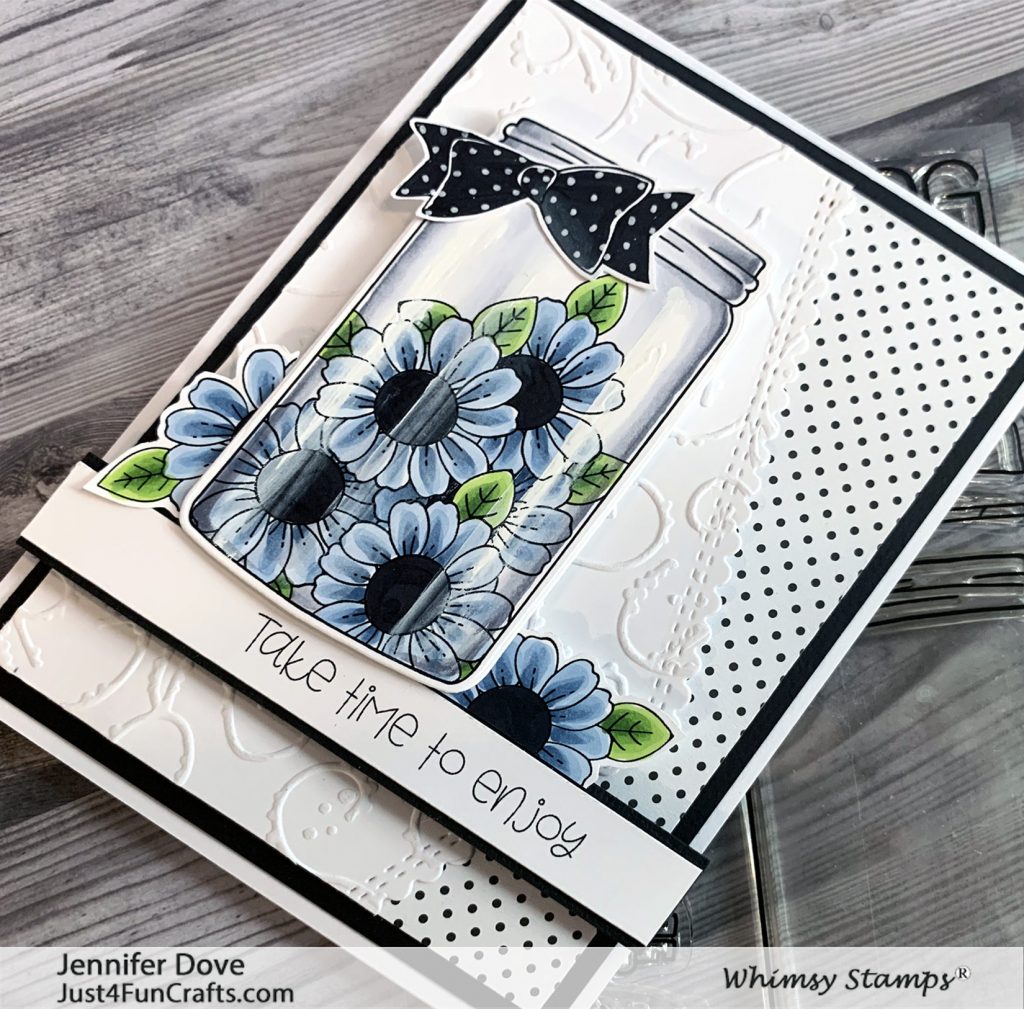
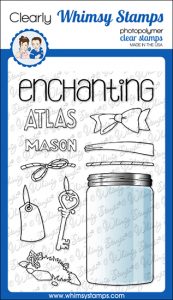
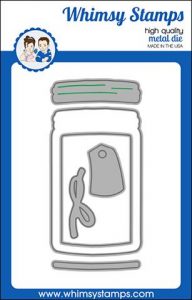
The easiest way I have found to create the stuff within the Atlas Jar is to stamp the jar first and then mask off the outer edges with post-it note paper. You can then stamp your images within the jar. For this image I stamped the flower from the Hello Bear stamp set on post-it notes so that I could cut it out and use it as a mask, so when the flowers overlapped you wouldn’t see the extra lines. You could also just stamp using a light gray stamp pad and the lines wont matter. After the image was colored up I used the coordinating Mason Atlas jar die to cut it out.
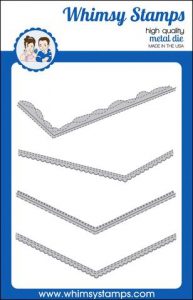
The main image and some extra flowers were placed on top of the Embossed white paper after I die cut it out using the Envelope Edger die. I used the sentiment from the Hello Bear as it seemed to work perfectly with the design.
This card will be one of the 3 cards we learn to color in the upcoming class at The Paper Collage in Arizona. The store is happy to take your stamp and die orders if you want any of these items.
Copic Markers
B91 B95 B97
YG03 YG17 YG67
C1 C3 C5 C10


Beautiful! I love the way you color accent the jar with white to make it look like it shines and gives it a 3-dimensional look. Ever do classes in Northern Utah? 🙂
This looks fabulous! Well done and I’m so glad you came up with the idea to make this stamp. 😀
Do you have a video tutorial on how to do this card?
I do not but will work on one
This is fantastic!!! I LOVE the accents you created for the shadows on that jar. Beautiful card.