After yesterdays little release tease I thought I would keep going and show you this amazing slimline die, and alphabet set. I know little gnomes are still a hit too, and this one doesn’t disappoint. I shared the details below.
Creating this Card:
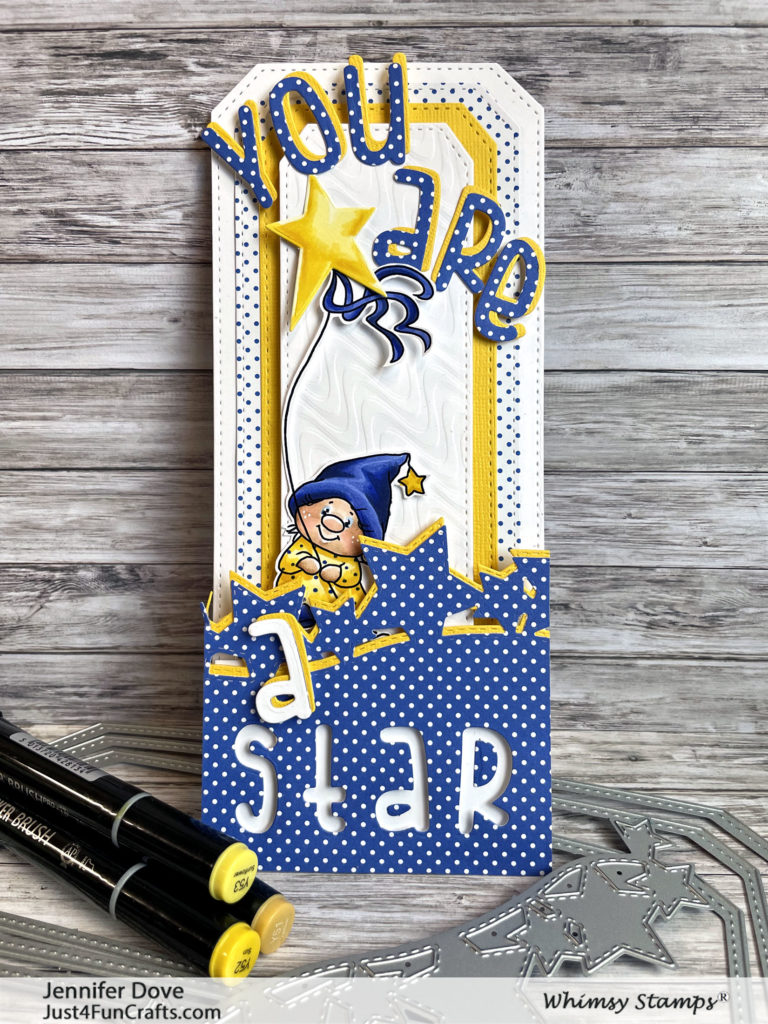
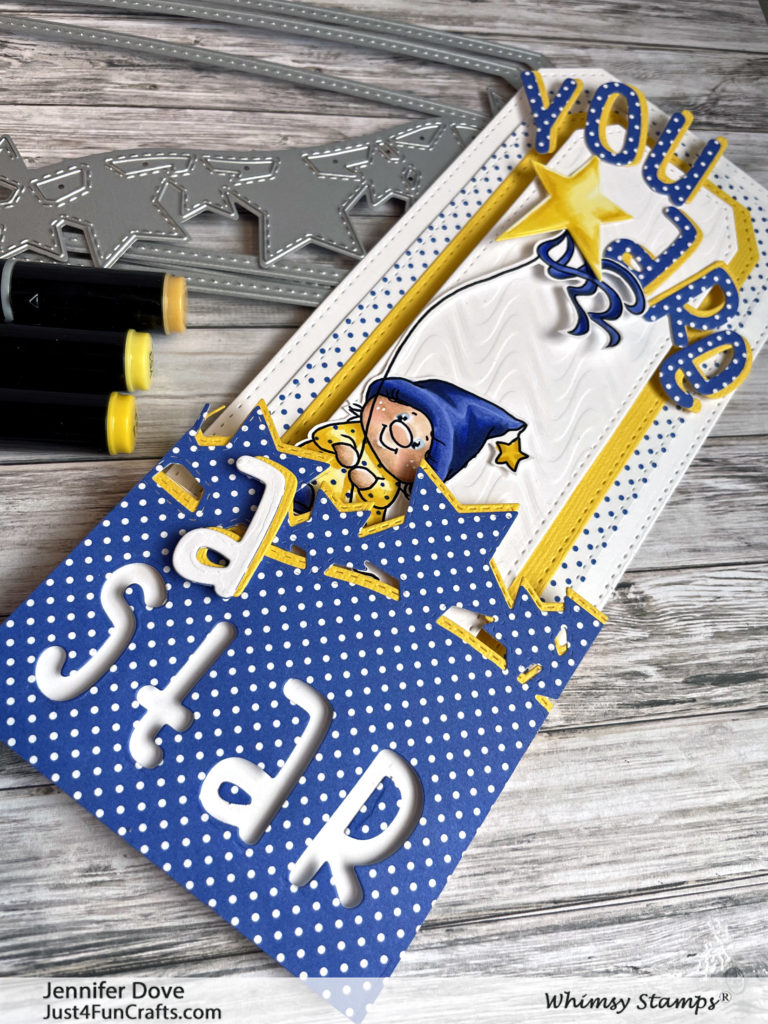
There are some fabulous layers on this card, but the layout is quite simple. I started out using the new Slimline Cornered Rectangles die set and alternated pattern paper, yellow and white cardstock. The top white cardstock layer was embossed using the new Slimline Wave Lengths embossing folder, and added the perfect texture to the card without taking it over.
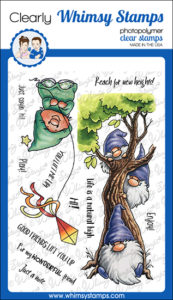
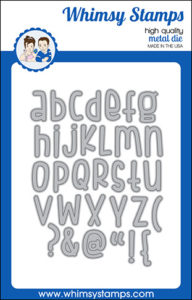
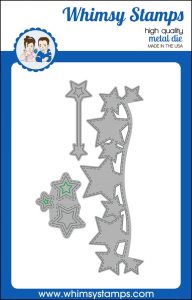
Using Lift You Up clear stamp set, I colored one of the gnomes with my Sketchmarker Brush Pro alcohol markers (which are awesome BTW), and then hand cut it out. The gnome was slightly tweaked a bit as I wanted to keep with the star theme, so I used a star from the Primitive Shaker shapes dies to replace the kite he was holding. Once the gnome was colored he was placed under two layers of stars that were created from the Upon a Star die set. Prior to adhering it to the card base, I used the new Cutie Alphabet to die cut the word “star” out of it, and then popped it up off a white piece of cardstock.
To finish off the card I die cut the remaining words out of complimenting pattern paper.
You are sure to enjoy these new products, and I can’t to see what you create using them.
Slimline Cornered Rectangle die set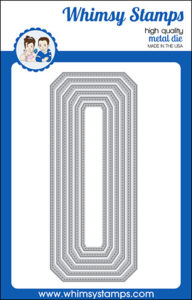
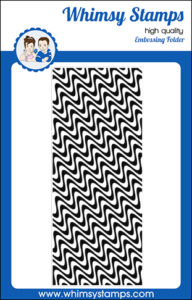
Slimline Wave Lengths embossing folder
Primitive Shaker Shapes die set

Sketchmarker Brush Pro alcohol markers
Sold through MarkerUniverse
Use Coupon code DOVE15 for 15% off until July 15 2021
B110 B111 B112
Y52 Y53 Y54

Amazing card, as always! I’m not understanding how the word “star” was made to look so puffy (3 dimensional and shadowed).
Created like a shaker card without vellum in the letter window. Cut out of the pattern paper and letters tossed away. Using the negative ?
Okay, thanks! Still amazed at how it looks in the photo! lol How are the interior parts of the “a” and “R” retained?
Those little suckers are adhered straight down inside the letters to the white cardstock underneath
Gotcha! I didn’t see any other way. lol
This is just awesome!! Can I have like your pinkie’s worth of talent …lol