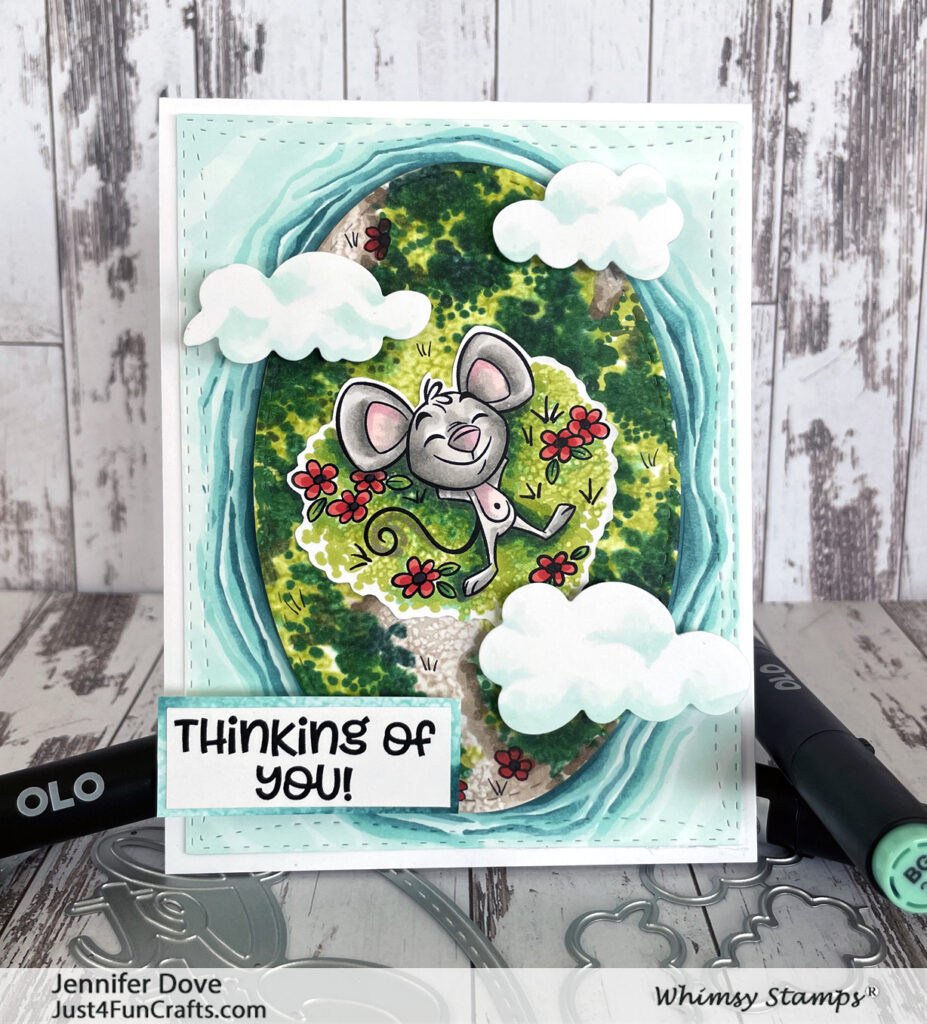
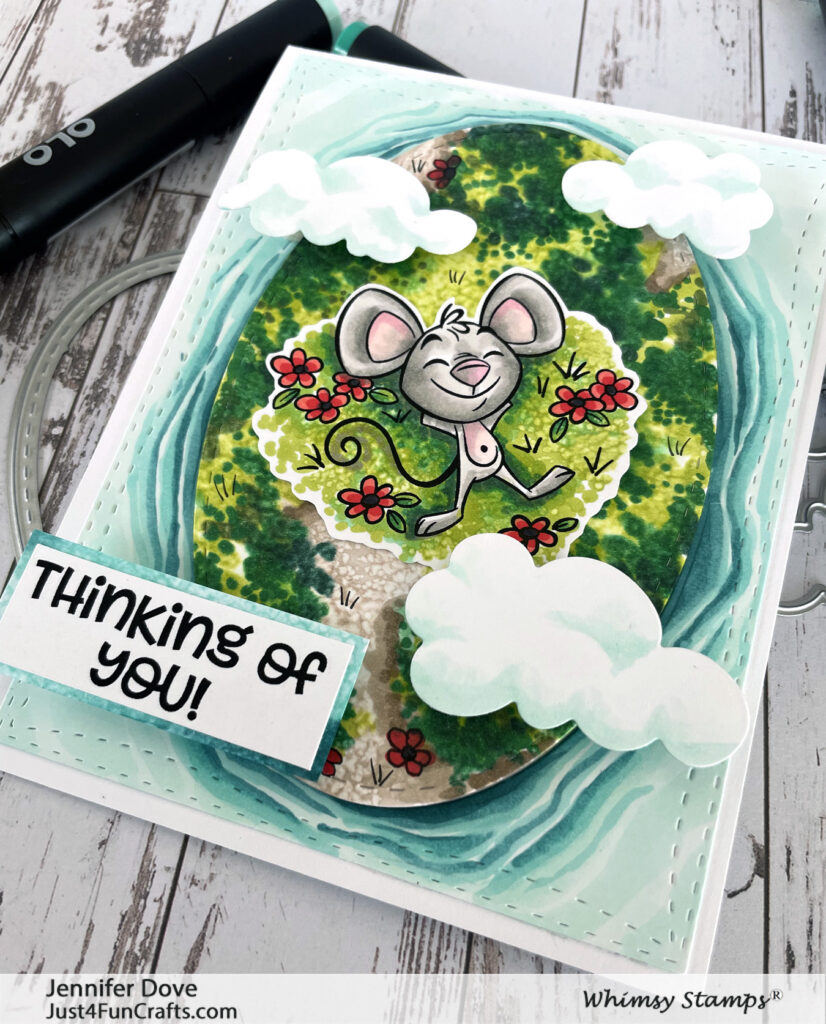
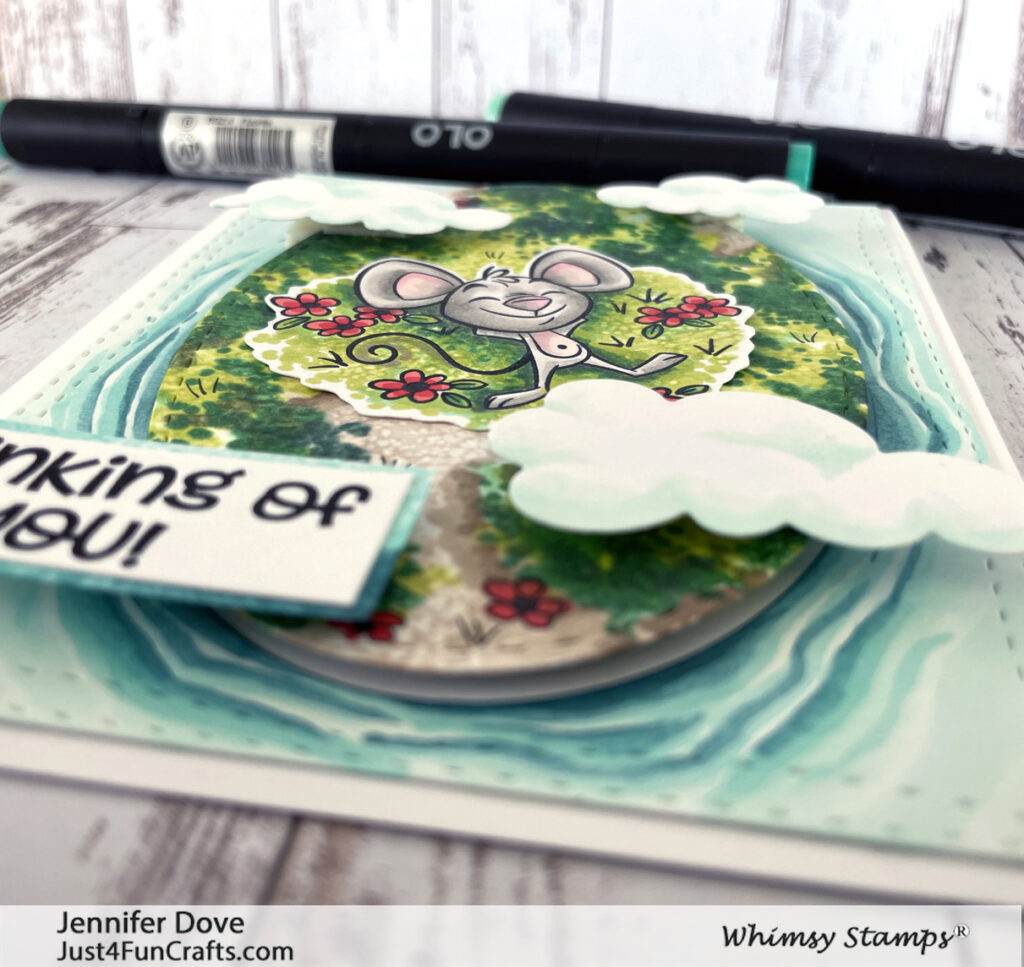
I thought I would create a different sort of card with a view from above. When I saw this cute mouse I imagined him on an island, surrounded by water. By adding “clouds” above him, it really gives the feeling that I am looking down from the sky. I love the look and feel of the card. I will share the card making process below, so you can make one too. What will you put on your island?
Creating This Card:
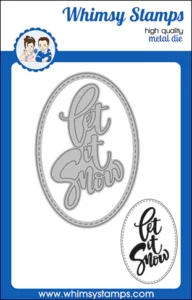
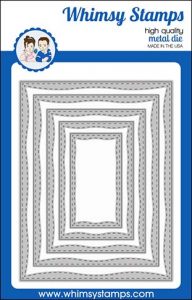
I started our by die cutting the bottom layer using the Wonky Stitched Rectangle die, then cut out the oval in the center (the island) from the Let It Snow die. The bottom layer was colored using my OLO Markers by creating the appearance of water ripples in the BG colors. Once that was done I adhered this layer to the card base.
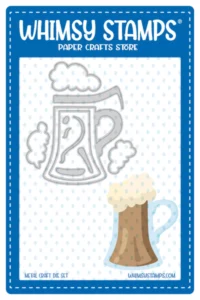
The oval island was then colored in the greens and a bit of brown for dirt patches. I textured it with both blending solution and a Terry clothe as well as lots of little dots. This layer was popped up on the center opening of the water area with foam tape/. After coloring up the mouse from the Spring Gardening Mice stamp set, and cutting him out, I placed him on the “island”. I make sure I added grass around him (in the shape of aa heart) before cutting him out so there was minimal white space. The last thing was the clouds. You can use any clouds popped up with foam tape, but I chose to use the “foam” from the Frosty Mug die set, as it was sitting on my desk.
I bet you have some stuff that will work well for recreating this card. Any object laying on its back will work. Have fun!
Spring Gardening Mice clear stamps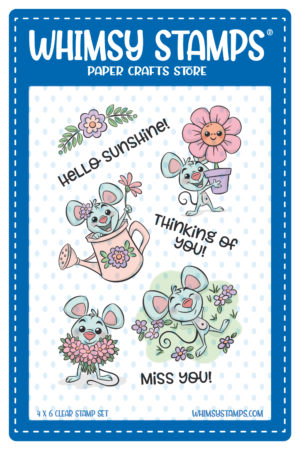
OLO cOLOrs
BG2.1 BG2.3 BG2.7 WATER
YG2.5 G1.4 G1.7 G1.8
K
R0.4 R1.5
O7.3 O7.7 DIRT
R5.3
W-G1 W-G3 W-G5 R0.1
