Change It Up – Texturing

Jennifer Dove’s Copic Corner – Texturing
http://just4funcrafts.blogspot.com

Texturing can be so amazingly fun to do when you are coloring with your Copics (or other alcohol based markers). I would like to share with you some different ways to texture. In this tutorial we will concentrate more on texturing fur. There are many different ways to create texture. One way is basic blending and using Blending solution to remove ink to leave the texture. The second way would be to actually create the texture by using a texture stroke. Lets take a look at these methods. 
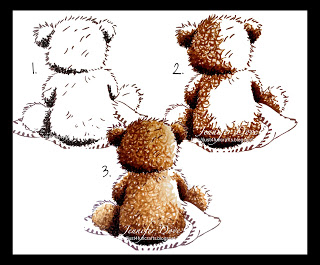
Texturing with Rags – This technique is more of a quick method to creating texture. For this method you will want to only color the portions of the image you wish to texture. In this tutorial you can see I am using a bear illustration (image by Crafters Companion, Popcorn Bear – Happy Birthday), and have ONLY colored the bear and NOT the blanket. If I was to color the blanket as well, I might end up with a textured blanket. Although this is a nice effect on cloth, it is not the desired look I am going for. I use basic 3 color blending on the bear. Next I will put some Copic colorless blending solution onto an old wash cloth. I use as little as possible and make sure I fluff up the area I placed the solution on. I then apply it with medium pressure to the bear image and hold for 3 seconds. Repeat this application until the image is textured. If you wish to add more texture make sure you let the solution evaporate off the image before applying more. 
Once the texturing is complete you can then color in the remaining part of the image. If you find that the colors are bleeding outside the lines, you might not want to use so much colorless blending solution on the wash cloth. 

Here is a step by step illustration on how this is done (see images). 
Basic Blending Colors E31 E23 E57 E79 

FLICK TEXTURE – Let’s try the next technique. This one is applying the texture by way of texture strokes. The strokes are a light-handed crisscross stroke. You will get the best results after you practice your strokes a little. Get in a rhythm with your strokes and the process will go a lot faster. First thing you do for this method is take a deep breath and let it all out. Relax; this is supposed to be fun! 

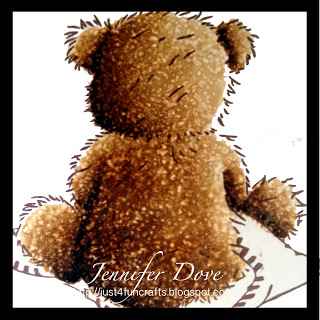
You will blend the colors using a flicking motion similar to a loose “X” motion. For this image we start with our darkest marker (E79) creating “X’s” in the shadow areas. When you crisscross the “X” you will leave white spaces of which will be filled in later as you overlap the next color. Your “X’s” don’t necessarily have to cross; you just want to carry through with the motion. Next, take your medium color (E57) and overlap the darkest marker you just applied, using the same motion. You will continue to repeat the “X” motion using the lighter medium marker (E23) overlapping every time, finishing off with your lightest (E31). Make note that the lighter markers are slightly blending the darker ones together while still leaving texture. 
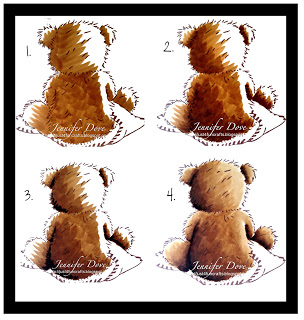
Here is the end results (pun intended)
You can use the same textures above to texture so many things. Take for instance using the Colorless Blending Solution and a piece of burlap, that has a thicker weave, to create texture on an image with a straw hat. How about texturing up clothing on an image? Using the “X” motion, texture up under an image to make it look like a stone pathway. You can also use a dot application as well, slightly overlapping like the “X” motion to create a texture. The possibilities are endless. Give it a try. 
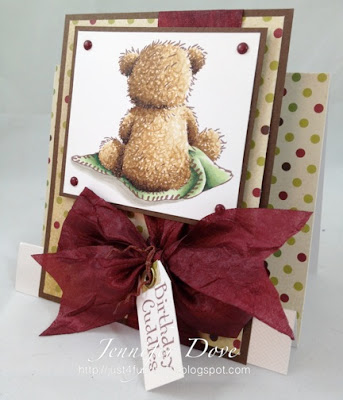
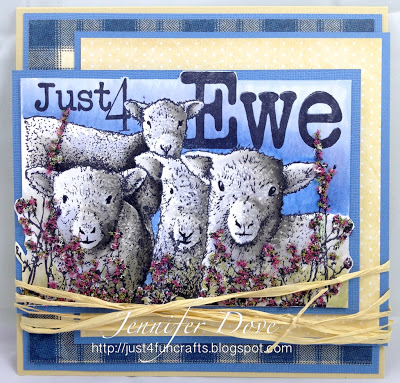
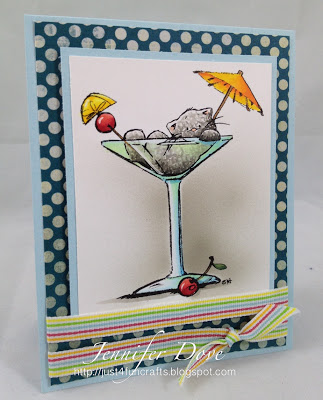
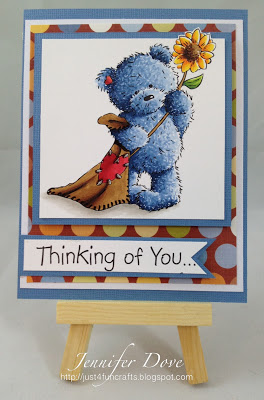
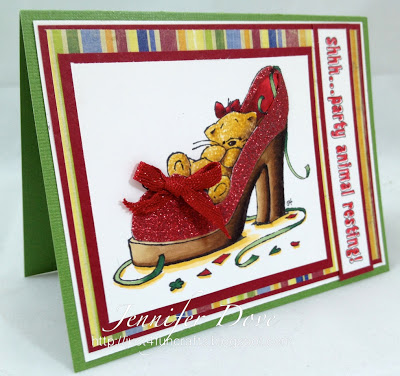
Here are more samples using some images from Crafters Companion. I just love to color bears so this was fun to do. The cat in the glass was also colored using this technique. 

6 thoughts on “Change It Up – Texturing

Comments are closed.