Jennifer Dove’ Copic Corner – Coloring Skin
http://just4funcrafts.blogspot.com
Coloring skin is fun to do and there are so many color choices to use. I hope this article simplifies things for you as you delve into coloring images with people. We have already talked about coloring hair in the past article. I skipped ahead of things with that article because when you are coloring people I always recommend you start with the skin tones first. This prevents you from dragging the color of the hair into the face. Let’s get started.
Light and Medium Toned Skin
Coloring skin can be pretty simple if you have general
blending some to a smooth science. When
coloring light colored skin you always want to start with the lightest tone
first. Do this in a single layer
application so your lightest tone remains light. If you use multiple layers of the lightest
tone it is now darker as each layer darkens.
blending some to a smooth science. When
coloring light colored skin you always want to start with the lightest tone
first. Do this in a single layer
application so your lightest tone remains light. If you use multiple layers of the lightest
tone it is now darker as each layer darkens.
Determine in your mind where you want your light source to
come from. This is an important step so
you can get the proper shadowing. If your
light source is coming from one side or the other then the opposite side will
have the shadow. If it is coming
straight on then both sides will have the shadows. This provides dimension to your object and
removed the “flat” appearance you get using a flat image.
When adding in the shadows, you always want to use a wider flicking motion coming from the edge of the image. Never start the flick from the center of the image. The beginning of your flick places the most ink and darkest placement of that tone, and we want to keep it towards the outer edge. Now that you know the details of “how,” let us flick using the darker skin tone. Again, make sure the heaviest part of the flick is started at the outer edge and then lifting your pen up a bit to allow for a lighter end of the flick as you reach the inner part of the image.
There are a few different “looks” people create for cheeks. Some like to just put round rosy cheeks in little circles. Although this is very cute, it is not very natural. I prefer to wisp in the cheeks similar to the way that the shadows are done, then come back with the lightest color and smooth out the edges into a smooth blend.
Whether you are placing in the shadow area or the cheeks, you need to smooth in the edges with the lightest color.
As a final touch to any image you color, add drop shadows where shadows might be cast using a color such as BV20 or a darker tone of the color you were using for added dimension.
Image by www.makeitcrafty.com
Colors used: Pinks R81 R83 R85 R89, Hair C10 BV29 C6 C5, Browns E31 E35 E57 E79, E40 E43 E44
Dark Colored Skin
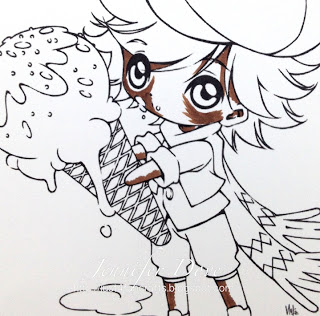
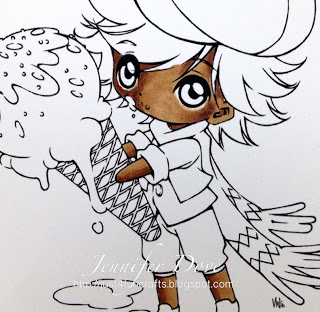
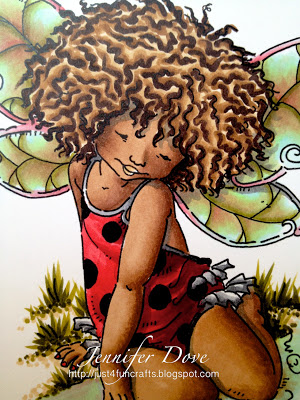
I have tried coloring dark colored skin in the same fashion as the light and medium toned skin but end up with results that are too dark. Remember with every layer of color applied, the tone gets darker. If you’re using dark color to begin with, then it ends up way too dark and doesn’t allow “highlighted” areas to really show. I have found a more successful way. Start out with the darkest tone in the area you want the shadows to be, then using your medium or light tone to smooth out the transition into the lightest tone. Work in small areas at a time and not over the whole image at once as your darker tones will be harder to make smooth if they are allowed to dry before applying the lighter tone.
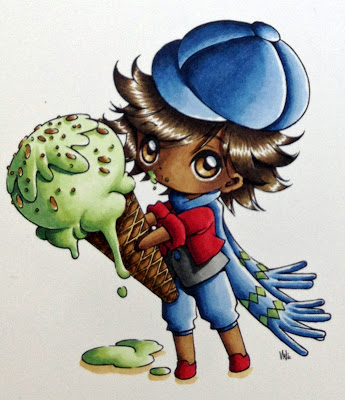
Example using image by www.makeitcrafty.com
Colors used for this image are: Skin E27 E23, Hair E44 E47, E49 E79, Reds R35 E46 R59, Blues B91 B93 B95 B97 B99, Greens G40 G43 G46 G29, cone E31 E35 E57 E79, Gray T5 T7 T8
Apply darkest tone (E27)
Blend with the lightest tone (E23)
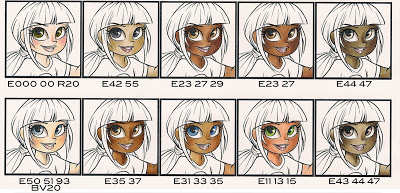
Here are some fun skin tones to try.
Image compliments of Simplybstamps.net
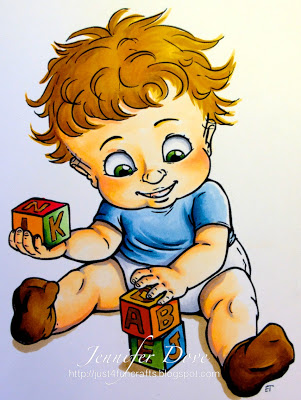
Here are a few more fun images. look at the details when it comes to cast shadows. Most these images come from www.MakeitCrafty.com and you can find more details in older posts on the exact colors used. Thank you for joining me in some fun! Please share the tutorial with friends but make sure you give them my blog as well. I love the feedback.
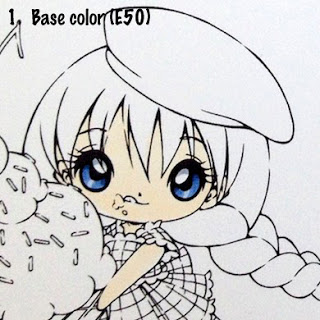
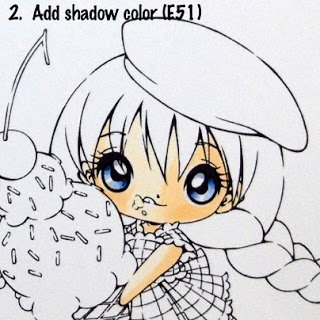
E50 51 93 and BV23 for the skin
E50 51 93 and YG11 for the skin
E50 51 93 and BV20 for the skin
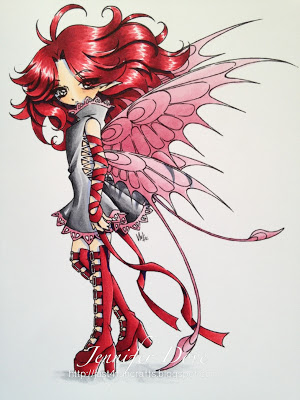
Image by Mo manning


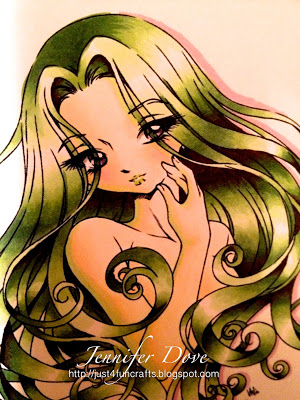

Jennifer, I love your tutorials and just going through your copic lessons and wondered what colors you used on the Mo Manning image at the bottom. I like your suggestion about AA skin and I am going to try it. I have tried to use 3 colors and like you said, it gets too dark. I wish I could get to one of your classes but you are too far away but thanks for the info via your blog. Do you think you will have any on-line classes or a book?
Inquiring minds want to know. hahahahah