I had a trick up my sleeve, and Whimsy Stamps turned it into a die. This super fun die creates a little bit of card magic…thus the Magic Wheel die. The first card I created using it was the card I had imagined in my head using a die like this. You can find this NEW Magic Wheel die, along with some NEW cuteness in todays release on Whimsy Stamps. I even created a little YouTube video on how to create the “magic” for this card. You will want to check it out.
Aren’t we all pleasantly surprised, and blessed when we get to see a rainbow on a rainy day? It is just magical!!

YouTube Video
Creating this Card:
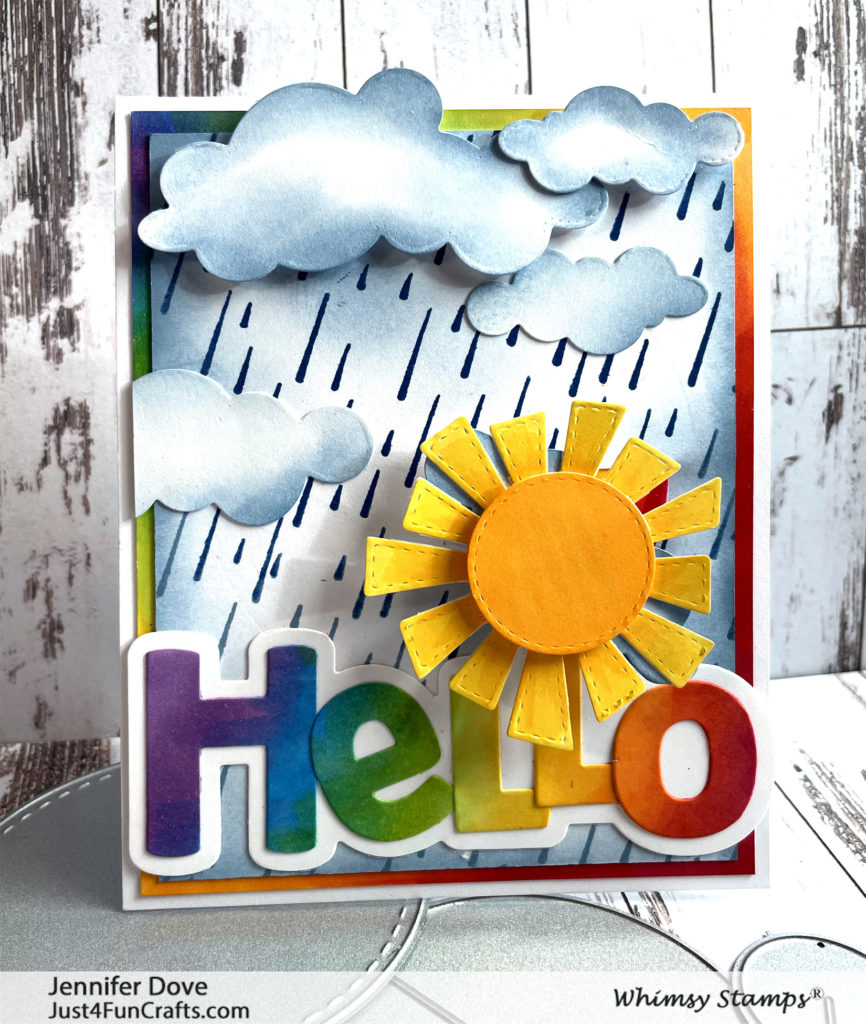
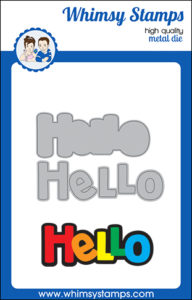
In order to remake this card (or something similar), I used the “open” slot circle piece on the outer layer, right side of the card front. This open slot piece was created to use with any base shape. The background was stamped with the Rain Drops rubber background stamp, and the edged were inked up using a blender brush and ink pad. I die cut the word using the Hello Word and Shadow die, and then colored it with my markers in rainbow colors. The Hello was adhered to the card front. Do not adhere anything to the card base quite yet.
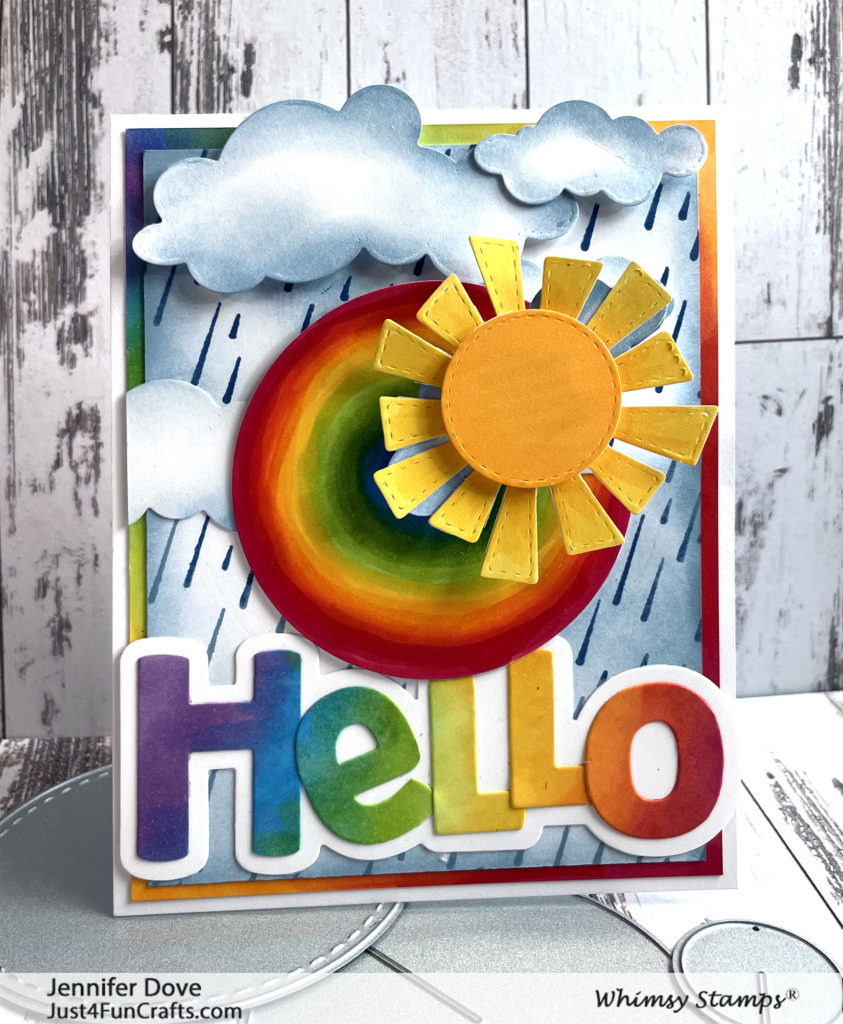
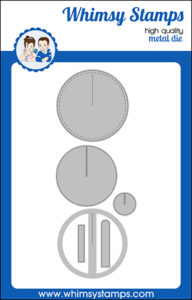
Using the medium circle slot die, I die cut a piece of white paper and colored it in a rainbow. The smallest circle slot die was adhered to the back of the rainbow circle, perfectly lining up the slit opening. This piece is to stabilize the slit, and has no other function. The rainbow piece was then slid into the slit on the card front (rain drop piece). I should have slipped it in the other direction so the rainbow goes up, not down, but I didnt notice at the time. So let’s just say I did it on purpose to be a little different.
No comes the tricky part, and you might want to refer to the video. The little elongated rectangle is going to go on the back side. You wont see this piece, but it is SUPER important. This little piece gets butted up to the circle slit, with a tiny bit extended beyond the outer portion of the circle. You will use a clear tape, such as scotch tape to put them together. Nothing bulky, and nothing that will peel up and stick. This is like a mini tab that is extended from the circle, to keep it from slipping through the open slot. Again, this piece allows the circle to rotate around all the way to the other end without it coming out. Make sure you do a few “trial runs” of the rotating piece before adhering this to the card base, and make sure when you adhere it that nothing gets in the way of the rotation piece.
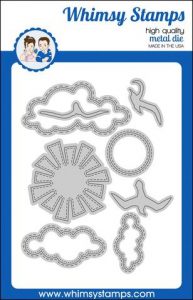
Once it is adhered to the card base, you can carefully rewind the circle piece almost all the way back into the opening. What remains outside and visible can have the turning handle, or tab adhered to it. For this card I used foam tape (more towards the outer/upper edge of the remaining circle part), and adhered a cloud and the sunshine from Up in The Clouds die set. Again, make sure you test it along the way.
To finish off the card I added some more inked up clouds. Be sure the clouds don’t get in the way of the turning pieces or they will need to be removed. Whew, think that it. Don’t forget you can watch the YouTube video that shows all the bits and pieces, and how to assemble.
I have more samples coming soon, so check back, or better yet, get on the email list that is on the right side of my blog for any posts I do.
Rain Drop rubber background stamp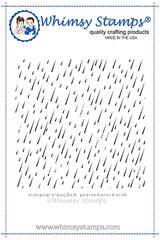
Small Blender Brush – Whimsy Stamps